5 Easy and Stylish DIY Curtain Tieback Ideas

Want to add a simple yet luxurious touch to your curtain decor, even if you’re on a budget? DIY curtain tiebacks might be the answer!
With a little imagination and creativity, you can easily make curtain tiebacks at home to add a personal flair to your curtains. Make your room look put-together while saving money — it’s a win-win!
Today, we’ll provide our favorite DIY curtain tieback ideas and step-by-step instructions for creating the perfect curtain accessories.
What Are Curtain Tiebacks?
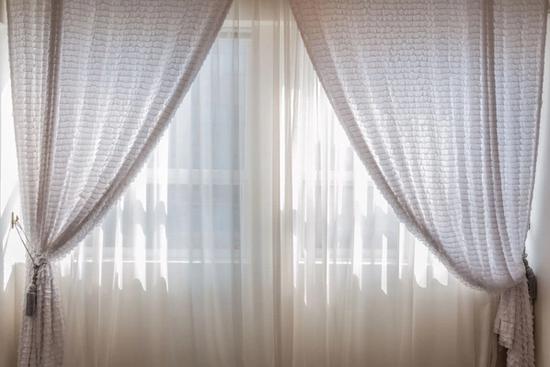
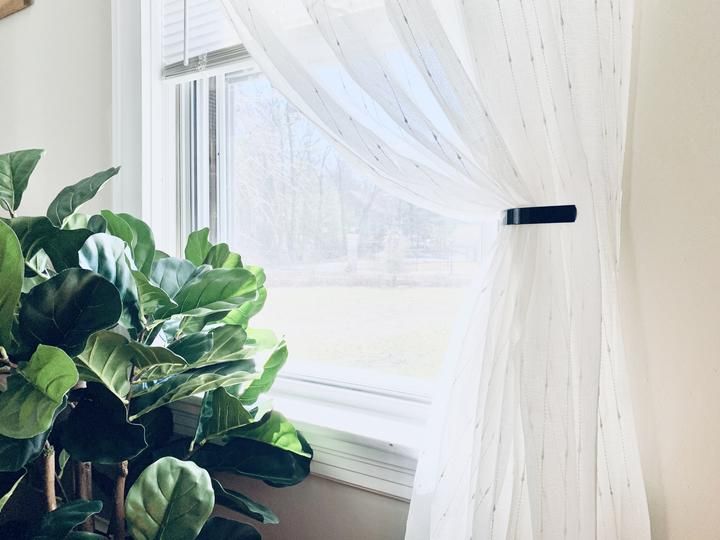
A curtain tieback is a decorative accessory that accompanies your curtains.
Tiebacks gather and pull back your curtains for both decorative and functional purposes. They add a finishing touch to your curtains and allow you to control the amount of light entering the room.
You can purchase tiebacks at department or home goods stores, or use a variety of materials to create your own. There are endless designs to choose from, depending on the decor style or color scheme you desire.
Before you start, examine the style of your current window setup, including dimensions as well as the curtains, curtain brackets and rods you’re currently using. Make sure you have the right materials on hand to create tiebacks that pair well with your curtains and windows.
5 DIY Curtain Tieback Ideas
Take a look at these budget-friendly DIY curtain tieback ideas to get your creative juices flowing!
1. Jute Rope
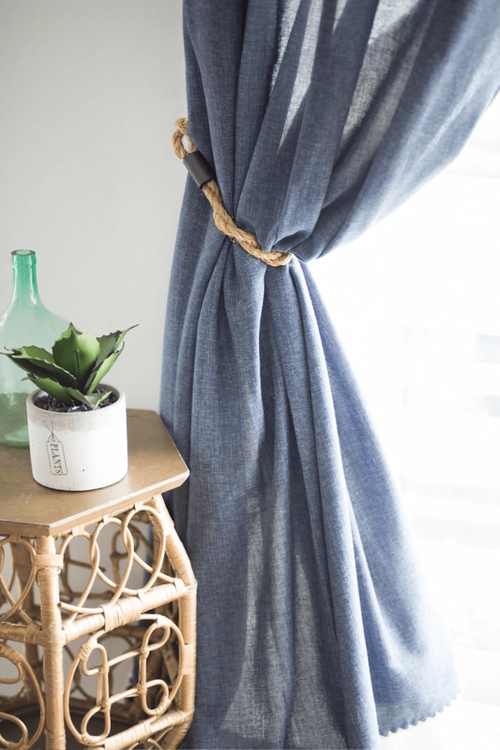
Jute rope adds a beautiful textured look to your curtains. You can make DIY jute rope tiebacks in just a few steps.
You’ll need:
- Jute rope
- Fabric tape
- Steel pipe couplings
Fold about three to four feet of jute rope together, depending on the size of your curtain panels. If you want to add a twist, rotate both ends of the rope in the same direction.
Wrap the non-looped end with fabric tape, then loop the longer side of the rope around the tape to create a loop. Use steel pipe couplings (as pictured above) to slide over both loops.
2. Sleek Chain
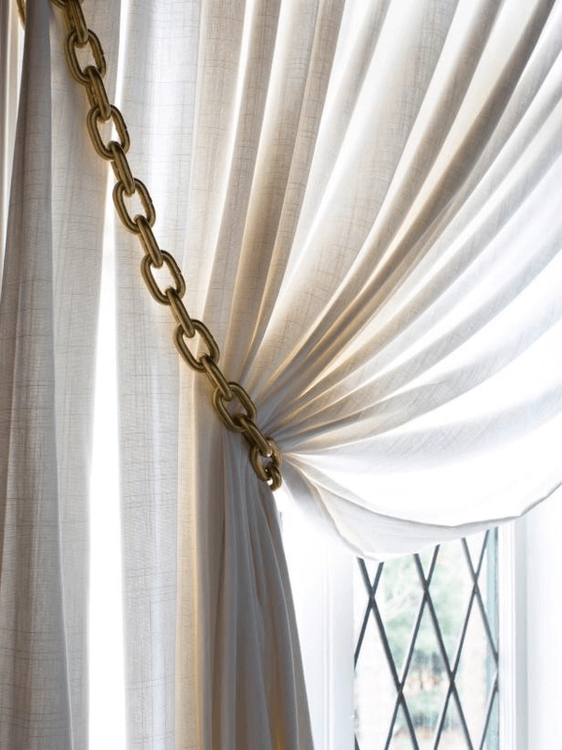
If you’re going for a modern industrial look, try these chain curtain tiebacks. This project requires additional time and supplies, but you’ll love the results!
You’ll need:
- Metal chain
- Spray paint
- Bolt cutters
- Measuring tape
- C-hooks
- Wall hooks
First, wrap the chain around your curtains to the desired length. Cut the chain to the proper size using bolt cutters. Spray-paint your chain in a well-ventilated area (gold spray paint is an excellent choice for most curtains).
Next, determine the height where you want the tiebacks to rest. Secure a decorative wall hook or damage-free 3M Command hook to the wall.
Then, attach a c-hook to the top end of your chain. The c-hook will connect to the wall hook. Gather your drapery panel, wrap the chain around the panel, and attach and secure all pieces in place.
3. Simple Twine
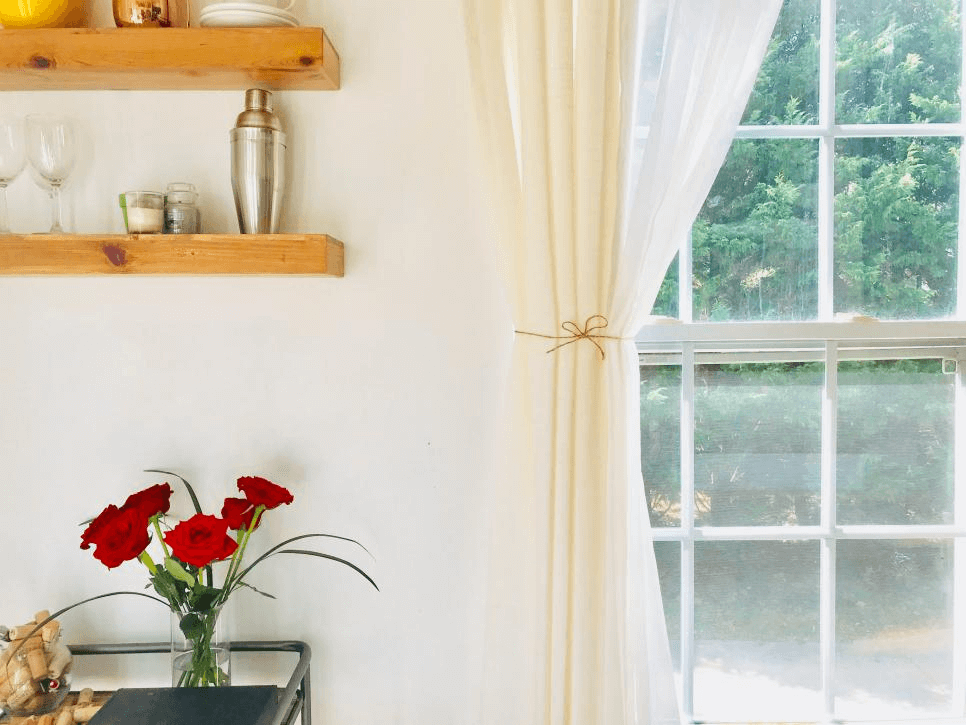
Yes, it can be this simple! Twine curtain tiebacks add an elegant touch while letting your curtains speak for themselves. There’s a good chance you even have leftover craft twine at home already.
Just measure the twine to your liking, wrap it around your curtains and tie it into a bow. It’s easy as 1-2-3 and should take less than five minutes.
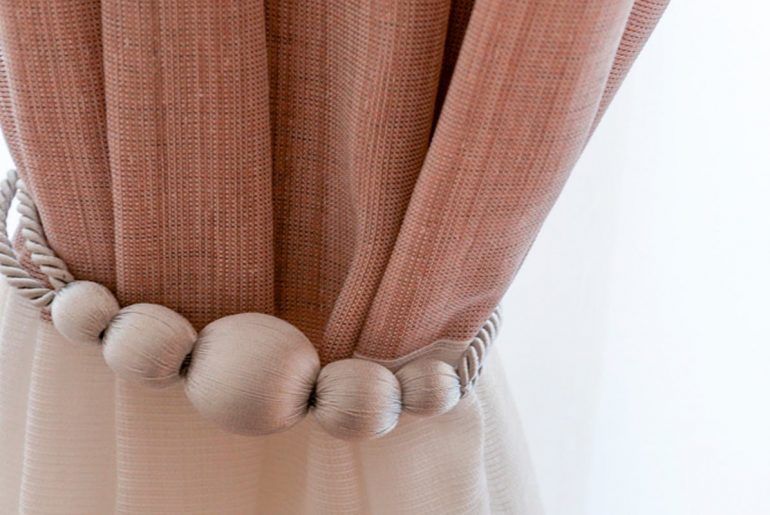
4. Stylish Tassels
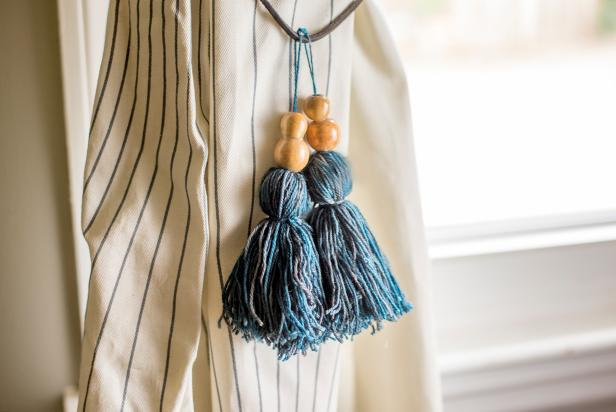
Accessorize your curtains with tassel tiebacks. To get a head start, you can buy premade tassels from your favorite arts and crafts retailers. Or for a one-of-a-kind style, check out Etsy’s selection of handmade tassels.
Once you select your tassels, attach them to a string, ribbon or tie of your choice (as seen above). Then wrap the tie around your curtain panels.
5. Artsy Beads
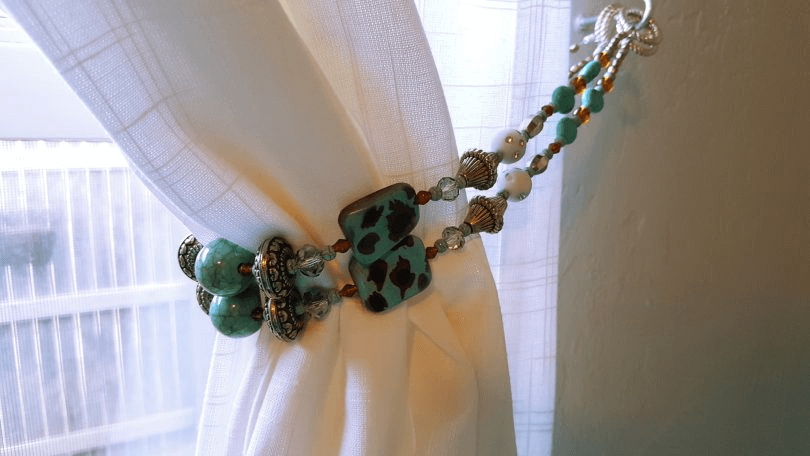
Add an artsy flair to your curtains with these DIY beaded curtain tiebacks.
You’ll need:
- Aluminum wire
- Variety of acrylic beads
- Small spacer beads
- Wall hooks
- Curtain rings or key rings
You have the creative freedom to arrange the beads however you like! After laying out the beads to your desired pattern, string the wire through your beads. When you get to the center, make sure your focal bead is in the proper place.
At the end of the wire, add some spacer beads to cover the rest of the wire. Leave a couple of inches of space at the end. Attach the beads to your curtain rings or key rings by coiling the tail end of the wire around the rings.
Lastly, hang your decorative wall hook or damage-free 3M Command hook where you want the tiebacks to rest. Gather your curtains to your liking, and hook the ring on your wall hook to complete the look.
Round Out the Look with Kwik-Hang
Whether you’re working on DIY tiebacks, curtains, rods or finials, you should never have to worry about measuring, drilling or wall damage when hanging curtains.
Kwik-Hang is here to help you make the curtain-hanging process as easy as possible. Our no-drill, damage-free curtain rod brackets and holdbacks help you get the job done in no time!
Hanging curtains is effortless with Kwik-Hang, and no precise measurements are needed. Just position the brackets and holdbacks to your window frame, tap into place with a hammer and hang your curtains. That’s it!
Kwik-Hang brackets are available in 5/8 or 1-inch widths and a wide variety of colors to match your curtain rods, DIY tiebacks or home decor style. Add our DIY easy-install damage-free holdbacks to complete your curtain setup in one swoop.
Try Kwik-Hang today!