Curtain Troubles: How to Keep Your Curtain Rod From Sliding


Curtain rods are essential for hanging curtains securely. But just when you think you have your curtain rod in the perfect position, it slides out of place. Or, after weeks of opening and closing your curtains, you notice the rod starts to slide with them.
Sliding curtain rods are a frustrating eyesore (not to mention dangerous if you have children or pets). That’s why we’ve put together a list of tips and tricks on how to keep your curtain rod from sliding.
Why Curtain Rods Slide
Curtain rods can slide for any number of reasons, but it’s almost always one of the following:
- The curtain rod is too short
- Curtain rod brackets are too narrow
- The curtain rod is too long
- Curtain rod brackets are too wide
- The curtain rod isn’t well supported
How to Keep Your Curtain Rod From Sliding
No need to scour forums until your eyes go numb. Here are some of the best practices to keep your curtain rods from sliding.
Extend the Curtain Rod
Extend the curtain rod about an inch or two past the curtain rod bracket on each end, creating a little space between the bracket and finial. Mount the outside ring clip of each curtain panel in the area you just created, using the curtain rod bracket as an anchor for the outer curtain ring.
Strengthen the Rod
Curtain rods should be supported every 30 inches. Strengthen your curtain rod using a center support curtain rod bracket. They eliminate sagging, drooping and collapsing that can occur with wide windows or heavier curtains.
Hang Your Brackets Wide
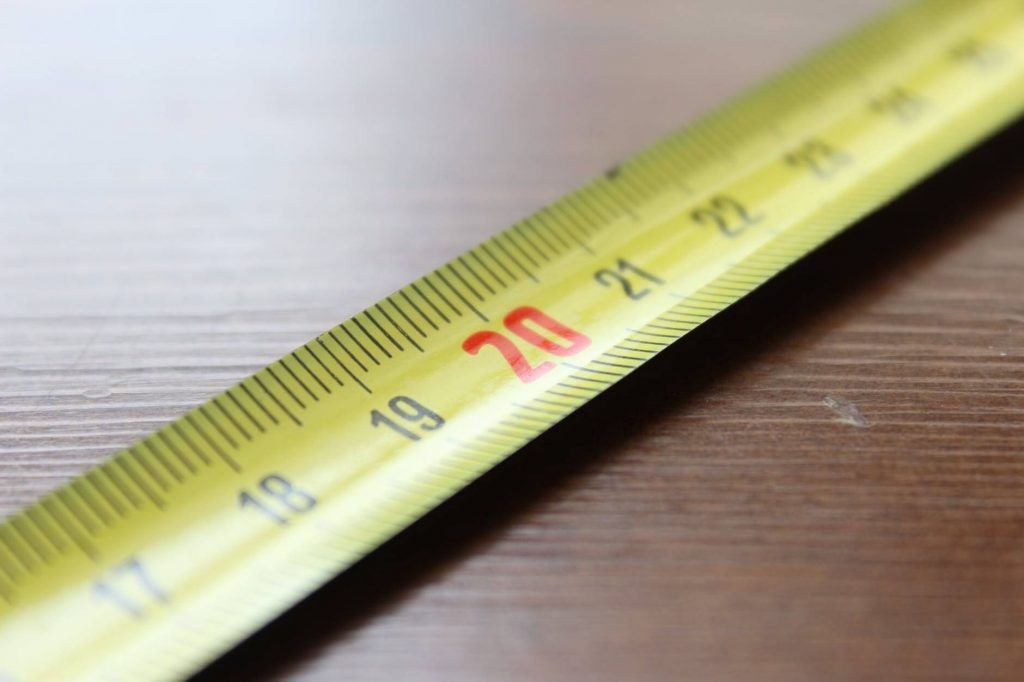
If your curtain rod is the right length for the window, try locating the curtain rod brackets closer to the ends of your curtain rod to eliminate any sliding. For example, if your curtain rod is 84 inches long, center your brackets on the window 83 inches apart.
Make Sure the Curtain Rod is the Right Size
If your curtain rod keeps separating in the middle, it may be too short. Your curtain rod could also be too thin and unable to support your curtains. Make sure your curtain rod is the appropriate length and thickness for your window and curtains.

Tighten the Screws
Look at the back of your curtain rod brackets. There may be a screw that you can tighten to secure your curtain rod in the bracket to prevent sliding. Ensure the screws are properly tightened.
DIY Solutions
Use Rubber Bands
Center your empty curtain rod over the window. One end at a time, position a rubber band over the curtain rod snug against each side of the curtain rod brackets. The rubber bands will hold the curtain rod in place as the curtains are open and closed.
Be sure to shop online for rubber bands in a color that matches your curtain rod!
Duct Tape
If your curtain rod is the right length and diameter, but it still keeps sliding apart in the middle, try using duct tape.
With your curtain rod in place, use a piece of tape to mark on the inner rod where the outer rod ends. Separate the rod. Wrap a piece of duct tape sticky side out just inside the tape mark you made previously.
Rejoin the two pieces of your curtain rod. The duct tape creates a secure, sticky connection that will keep your curtain rod from sliding apart.
Command Strips
Try using double-sided Command Strips to keep your curtain rod from sliding. Line the cup of your curtain rod bracket with a Command Strip and firmly press your curtain rod into place. Voila!
Kwik-Hang Curtain Rods
What’s the best way to keep your curtain rod from sliding? Use Kwik-Hang curtain rods and brackets! They’re easy to install, affordable and fit perfectly together, so your curtain rod won’t slip or sag over time.
With Kwik-Hang, you can turn a time-consuming hassle into a simple installation process. Just tap the brackets into place and center your curtain rod — no need for precise measurements, and no damage to your walls!
Try Kwik-Hang today!