Easy DIY Thermal Curtains to Insulate Your Home


Did your heater work harder than it should have this winter? Spring is here — it’s your chance to make life easier on your AC and your budget with DIY thermal curtains.
Windows are the primary source of heat loss in most homes. Single-pane windows provide next to no insulation against outside temperatures and the seals on double-pane windows often break as they age.
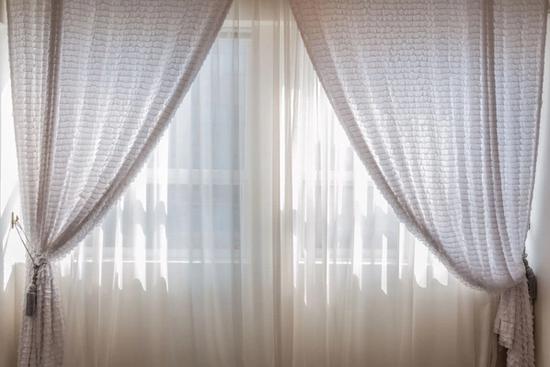
If you’re looking for an easy way to keep outside temperatures outside your home, thermal curtains are the perfect solution.
Window glass is highly conductive and transfers heat easily. Thermal curtains help regulate the temperature in your home by insulating against heat transfer, keeping your house warm in the winter and cool in the summer.
Thermal curtains will also help lower your utility bills. The less you run your furnace and air conditioning to heat or cool your home, the more money you save.
If you’re interested in thermal curtains, you’ve also probably noticed that they’re more expensive than traditional curtains.
Luckily, they’re an easy, affordable DIY project — check out our step-by-step guide on how to make DIY thermal curtains for your home.
DIY Thermal Curtains
Start by gathering the following materials:
- Fabric measuring tape
- Fabric scissors
- Sewing pins
- Sewing machine and thread
- Tape measure
- Clothes iron
- 1” Curtain rod or dowel
- Curtain rod clip rings
- 1″ Kwik-Hang curtain rod brackets
- Small hammer
- Decorative outer fabric
- Vapor barrier material
- Batting fabric
- White liner fabric
How To Make Thermal Curtains
Step 1: Use your tape measure to measure the height and width of the window.
Step 2: Next, use your fabric measuring tape and fabric scissors to measure and cut your decorative outer fabric, vapor barrier material, batting fabric and white liner material to the specifications.
When cutting your curtains, you’ll want to make sure your curtains are at least 10 inches wider and six inches taller than the window. That way, your thermal curtains will cover the entire window and overlap when they’re closed.
Pro tip: if you want a fuller look, they should be double the window width.
Read more on how to measure for curtains here.
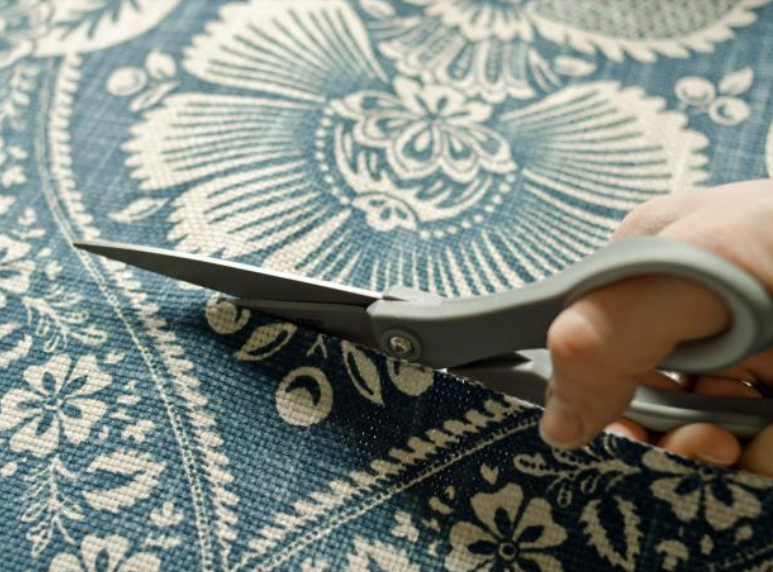
Step 3: Cut the curtain materials in half lengthwise (top to bottom) to create two pieces of each.
Step 4: Layer the decorative fabric, vapor barrier material, batting fabric and white liner fabric in two separate stacks.
Step 5: Fold each edge of the curtain stacks over half an inch and press firmly with your iron. (Make sure you fold them over on the liner side.) Use your sewing pins to secure the pressed edges of the stacks — insert pins six inches apart.
Step 6: With your sewing machine, stitch the pinned stack edges into place. Stitch all four sides of both curtains.
Step 7: Use your hammer to install your Kwik-Hang curtain rod brackets. They can hold up to 20lbs. of weight, an ideal option for hanging heavy thermal curtains.
Step 8: String your curtain rod clip rings onto your one-inch curtain rod or dowel. Using a thicker one-inch curtain rod is necessary to support the weight of thermal curtains safely.
Step 9: Mount your curtain rod with clip rings onto your Kwik-Hang curtain rod brackets.
Step 10: Clip your thermal curtains to the clip rings.
Step 11: Voila! Admire your work and enjoy your savings!
Hang Your Curtains Easily With Kwik-Hang Curtain Rod Brackets
Thermal curtains help regulate the temperature of your home, lower your utility bills, and save you money.
DIY thermal curtains are simple to make and easy to install when you use Kwik-Hang curtain rod brackets.
Kwik-Hang curtain rod brackets have turned a time-consuming hassle into an easy installation process. Simply line them up on your window frame and tap them into place. No precise measurements and no wall damage.
Use Kwik-Hang curtain rod brackets whenever you want to save time and money.